How to Write a WordPress Post?
In our previous blog, we learned how to change a WordPress theme. In this post, I will make you go through how to create a post in WordPress.
Steps to Create a Post in WordPress
You can follow these simple steps to write a WordPress Post.
Step 1: Add New Post in WordPress
- The first step is to log in to your WordPress Account. Just enter the username and password and you will be redirected to the main dashboard.
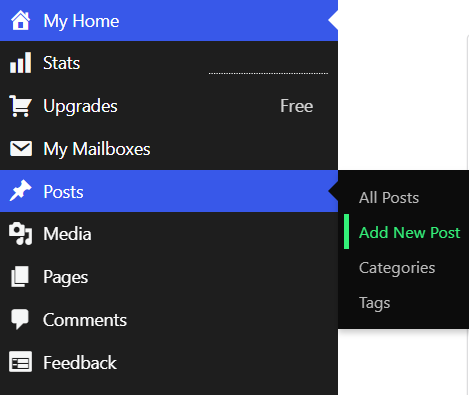
- From the left side of the menu, hover over the Posts option.
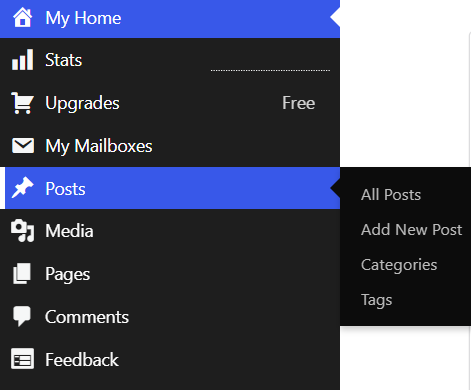
- Now click on the Add New Post.
2. Alternatively, you can click on the Posts and you will reach this page. You will see all your posts here in the chronological order. You may see the Add new post option on the right side of the page in blue color. Click on the Add new post.

Step 2: Create a Post in WordPress
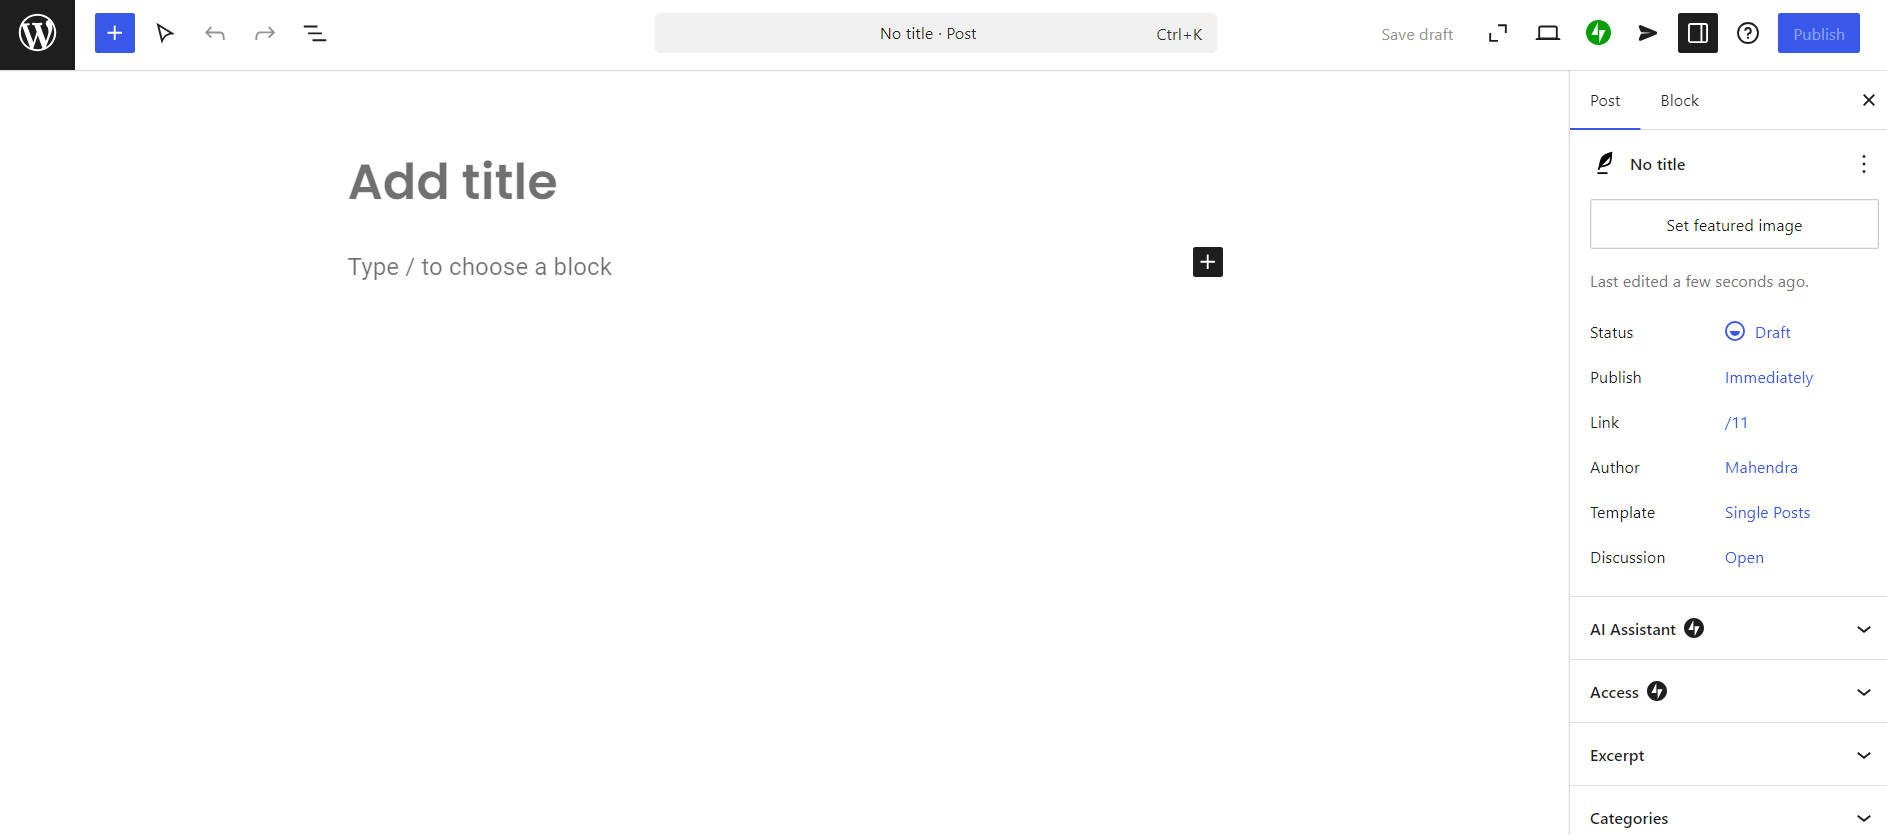
- Now that you have reached the page where you can write the post. The interface looks like this. You can start writing your blog here.
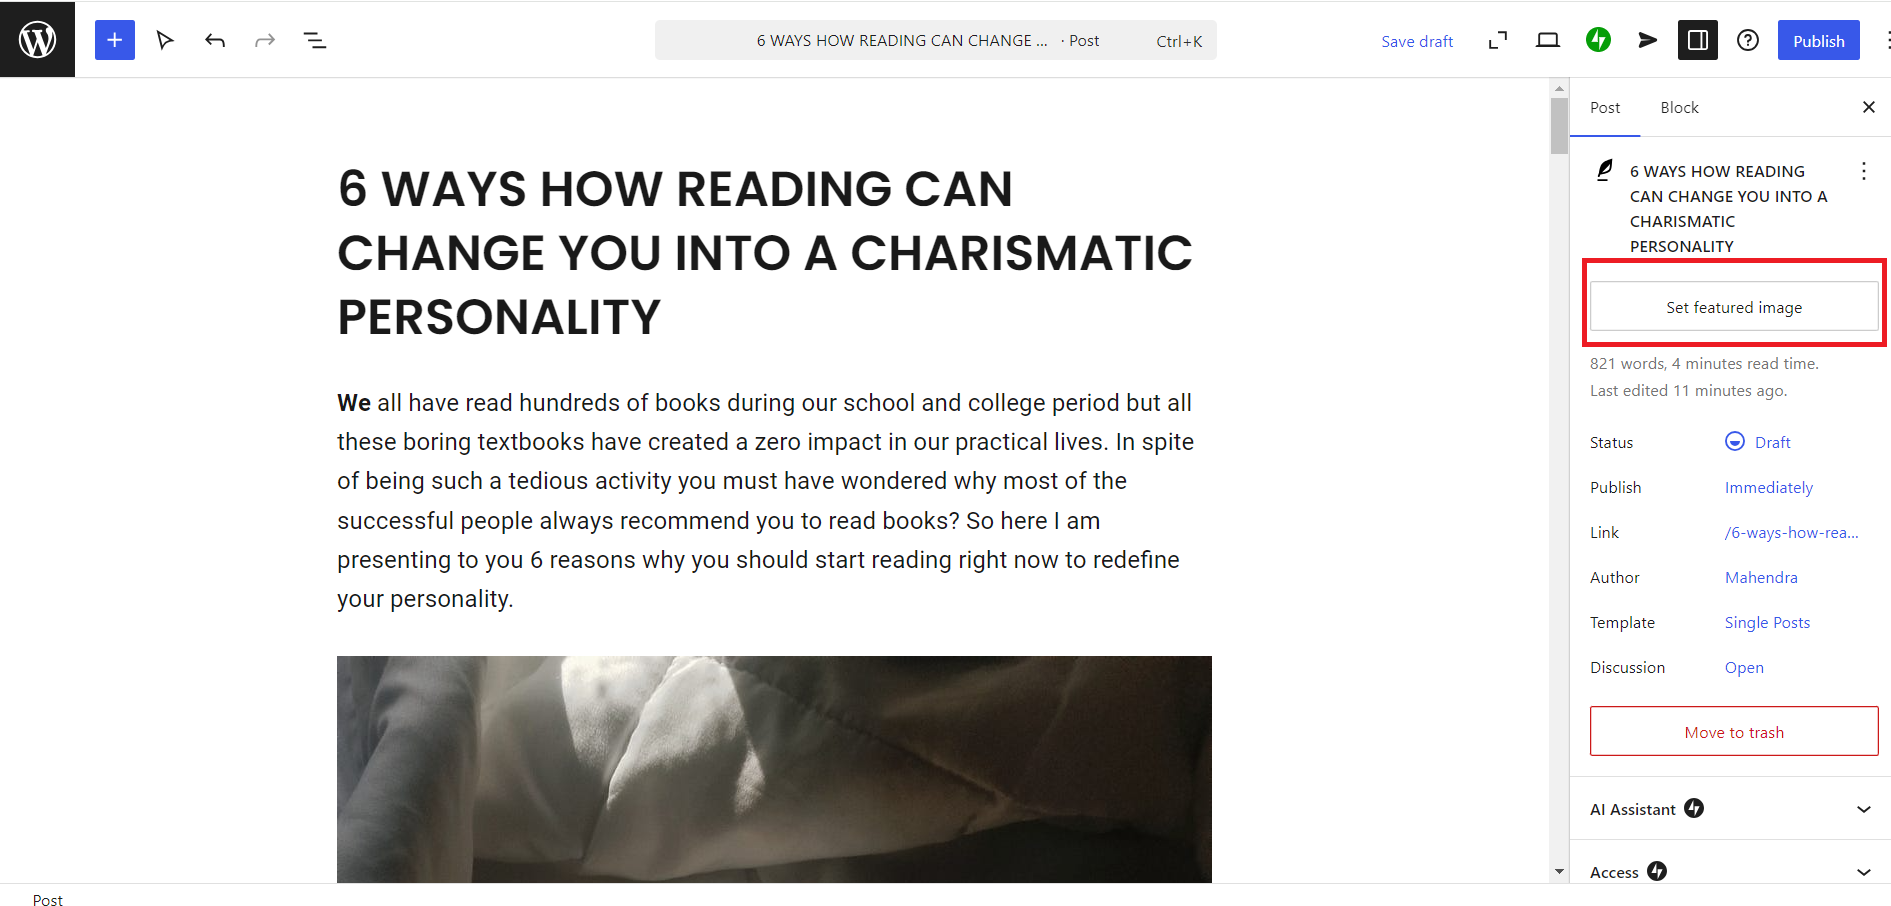
2. Once you have completed writing, you will see an option of Set featured image on the right side of the page. You can set a feature image from there for your blog post.
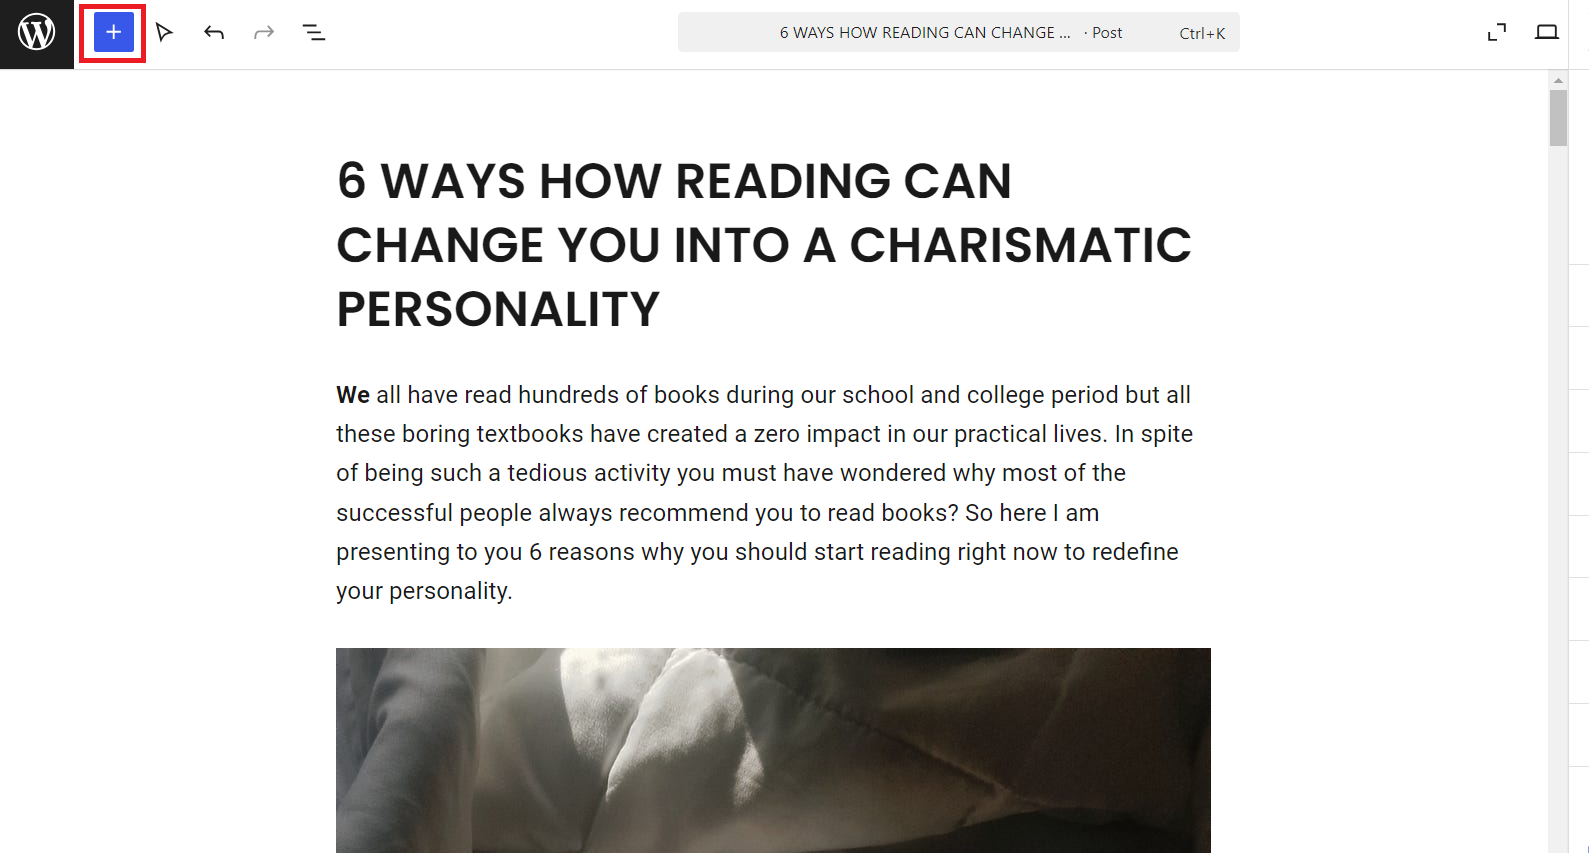
3. On the top left side of the page, beside the WordPress logo, you will see a plus sign in a blue background. Click on it to get more options.
4. Now you have options related to Blocks, Patterns, and Media. You can add images, audio, or any other media file.
Step 3: Optimize Your Content
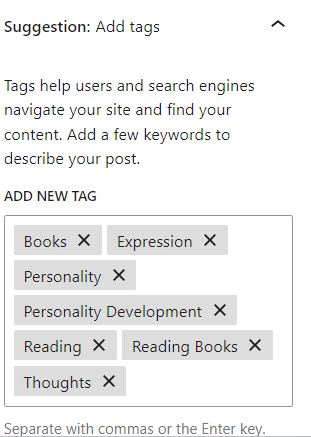
- On the right side of the page, you have a lot of options for the post. You can add tags that help users and search engines to reach your content on the website.
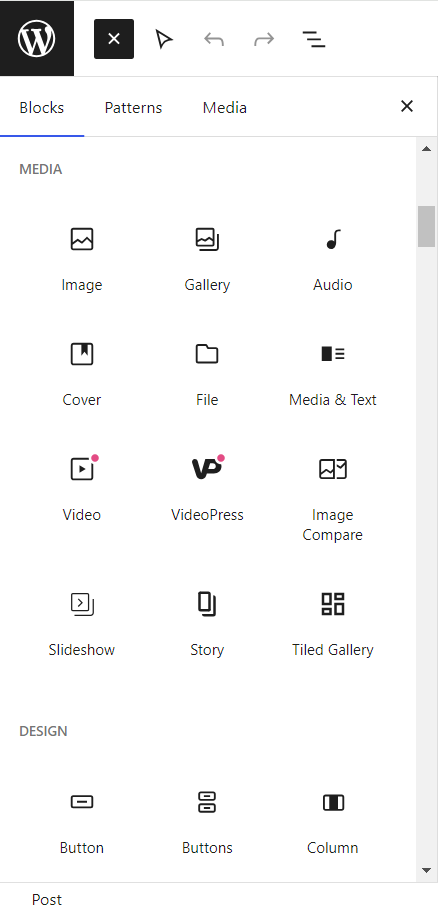
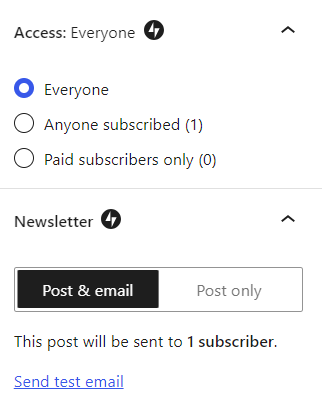
2.Next is Access. You can choose what kind of audience you want for your content. If you are a new blogger and you do not have any subscriber, you can choose Everyone.
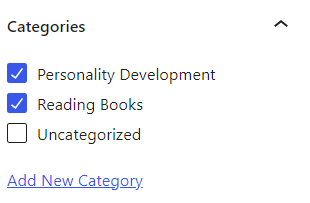
- Next is Category. Click on Add New Category and you can add what category your content belongs to. This is a helpful way to group posts together and to help readers know what the post is about.
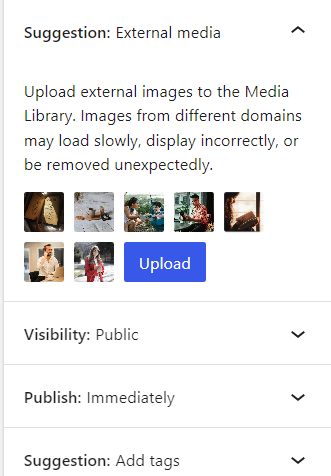
- There is one more really good option for uploading external media to the Media Library. Click on the Upload button and all your media will be uploaded.
Step 4: Publish Your Content
- Now once everything is done, click on the Publish button on the top right side of the page.
Step 5: View Published Content
- Now when your content is published, you may get the notification at the bottom left side of the page - Post published. Beside it, there is the option to View Post. You can click on it and view your published content. Alternatively, you can click on the View Post on the right side of the page.
